Disclosure: I am compensated for purchases made through some links on this site. Click for details.
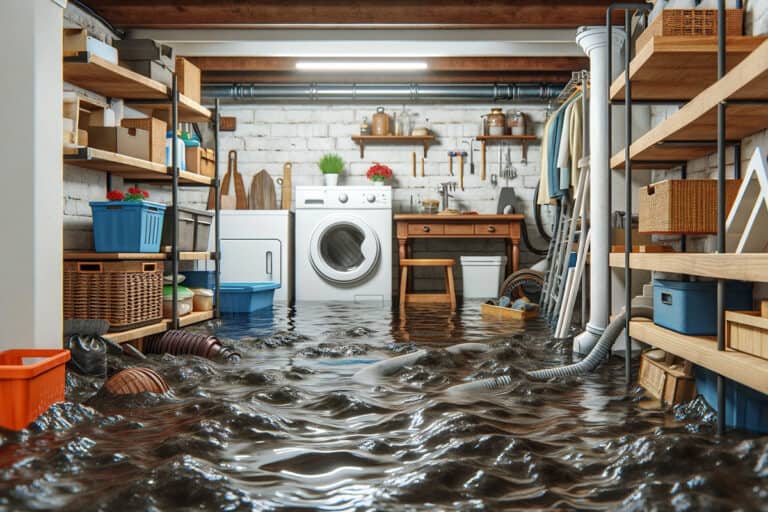
Introduction Water damage is one of the most common and troublesome issues faced by homeowners. According to the Insurance Information Institute, water damage makes up nearly a quarter of all property damage claims. When left unchecked, water damage in any room can cause mold, mildew, structural issues, and health hazards. However, bathrooms tend to be especially susceptible.
Noticing signs of water damage in your bathroom like peeling paint, soft drywall, or bulging areas? Take action promptly – here’s how to tackle water-damaged drywall in your bathroom wall and prevent further damage.
Why is Timely Repair Crucial?
Acting quickly in the face of water damage is not just about aesthetics; it’s a matter of health and safety. Untreated water damage can lead to persistent mold growth, which poses serious health risks, especially for those with allergies or asthma. Additionally, prolonged exposure to moisture weakens structural integrity, making immediate repair vital.
COMMON CAUSES OF WATER DAMAGE IN BATHROOMS
To effectively tackle water damage, it’s essential to first understand what causes it. In bathrooms, which are naturally high-moisture environments, several factors can contribute to water damage:
- Leaky Pipes: One of the most common culprits, leaky pipes can go unnoticed, especially if they are hidden behind walls.
- Poor Ventilation: Without adequate air circulation, moisture lingers and can seep into walls and floors.
- Condensation: Excessive condensation, often due to hot showers in poorly ventilated spaces, can lead to moisture buildup.
- Faulty Sealing: Over time, the caulking around bathtubs and sinks can deteriorate, allowing water to seep into adjacent walls.
By identifying these common causes, you can take proactive steps to monitor and maintain these areas, preventing potential water damage.
Identify and Remove the Water-Damaged Drywall Section
If you suspect water damage, start by thoroughly inspecting your bathroom wall for signs like water stains, wallpaper peeling, paint bubbling, soft spots, or bulging areas. Carefully examine behind fixtures or tile as well. Use tools like a moisture meter or a screwdriver to test the condition of the drywall. If it seems wet, soft, crumbly, or otherwise compromised, removal is likely required.
Before extracting the damaged drywall, make sure to turn off the water supply and electricity to the affected area. Then don drywall handles, a dust mask, gloves, and eye protection. Outline the damaged portion with a utility knife. Use a hammer or pry bar to detach the drywall from the studs and any intact areas around it. Remove screws as needed and dispose of the damaged drywall properly.
Tools for Removing a Water-Damaged Drywall Section
The first step to fix water damage in your bathroom wall is to identify and remove the damaged section of drywall. To do this, you will need:
- A utility knife
- A hammer
- A pry bar or a putty knife
- A dust mask
- A trash bag or a tarp
Steps for Removing a Water-Damaged Drywall Section
- Find the source and extent of the water damage: You may need to use a moisture meter or a screwdriver to check the moisture level and the condition of the drywall. If the drywall is wet, soft, or crumbly, it needs to be removed. Look for:
- Mold and Mildew: Look for black, green, or white growths, particularly in corners or near plumbing fixtures.
- Musty Odors: A persistent damp, earthy smell is a strong indicator of hidden water damage.
- Peeling Paint or Wallpaper: This can signal that moisture has penetrated the wall.
- Wall Discoloration: Water stains often appear as dark or discolored patches.
- Warped Walls: Walls that appear swollen or bowed might be suffering from moisture damage.
- Turn off the water supply and electricity: If the water damage is caused by a leaky pipe or a faulty fixture, you need to turn off the water supply to the bathroom. You can do this by locating the main water valve or the shutoff valve for the bathroom and turning it clockwise. If the water damage is near an electrical outlet or a switch, you need to turn off the electricity to the bathroom. You can do this by locating the circuit breaker panel and flipping the switch for the bathroom circuit.
- Use personal protective equipment: Wear eye protection and a dust mask to protect yourself from dust and debris.
- Score and remove the damaged section of drywall: Use a utility knife to cut along the edges of the damaged area, creating a rectangular or square shape. You may need to use a stud finder to locate the studs behind the drywall and avoid cutting them. Use a hammer to tap the drywall gently and loosen it from the studs. Use a pry bar or a putty knife to pull the drywall away from the wall. Be careful not to damage the surrounding drywall or the underlying structure. Place the removed drywall in a trash bag or a tarp for disposal.
Replace the Removed Section with a New Piece of Drywall
Measure the size and shape of the gap left behind, transferring the exact dimensions to a new piece of drywall. Use a straightedge and utility knife to score and snap the drywall to size accordingly. Slot the replacement drywall section into place, securing it to studs with drywall screws. Fill seams and gaps with joint compound. Once dry, cover the seams with mesh tape and apply another layer of compound. Allow it to dry completely.
Sand the patch and feather the edges, repeating the joint compound process until the wall is smooth and even. Opt for moisture-resistant drywall to prevent recurrence of water damage.
Tools for Replacing the Removed Drywall Section
The second step to fix water damage in your bathroom wall is to replace the removed section with a new piece of drywall. To do this, you will need:
- A new piece of drywall
- A tape measure
- A pencil
- A utility knife
- A straightedge or a T-square
- A drill or a screwdriver
- Drywall screws
- Joint compound
- A putty knife
- Paper or mesh tape
- Sandpaper or a sanding sponge
Steps for Replacing the Removed Drywall Section
- Measure and cut the new piece of drywall: Use a tape measure and a pencil to measure the size and shape of the removed section of drywall. Transfer the measurements to the new piece of drywall. Use a utility knife and a straightedge or a T-square to score and cut the new piece of drywall. You may need to make multiple cuts to break the drywall. Make sure the new piece of drywall fits snugly in the hole.
- Attach the new piece of drywall to the studs: Use a drill or a screwdriver and drywall screws to secure the new piece of drywall to the studs behind the wall. Use at least four screws per stud, spacing them about 12 inches apart. Make sure the screws are slightly below the surface of the drywall, but not too deep to break the paper.
- Fill the gaps and seams with joint compound: Use a putty knife and joint compound to fill the gaps and seams between the new and old drywall. Apply a thin layer of joint compound over the entire patch, covering the screws and the edges. Smooth the joint compound with the putty knife, removing any excess or lumps.
- Apply paper or mesh tape over the joints: Use paper or mesh tape to reinforce the joints and prevent cracking. Cut the tape to the length of the joints and press it into the joint compound with your fingers. Use the putty knife to smooth the tape and remove any air bubbles. Make sure the tape is flat and tight against the wall.
- Apply multiple layers of joint compound: Wait for the first layer of joint compound to dry, which may take several hours or overnight. Then, apply a second layer of joint compound over the tape and the patch, using a wider putty knife. Smooth the joint compound and feather the edges to blend with the surrounding wall. Wait for the second layer to dry, and then repeat the process with a third layer of joint compound, using an even wider putty knife. You may need to apply more layers of joint compound until the patch is smooth and even.
- Sand and smooth the surface: Use sandpaper or a sanding sponge to sand the patch and the surrounding wall, removing any bumps or rough spots. Be careful not to sand too much or too hard, as this can damage the drywall or the tape. Wipe the dust with a damp cloth or a vacuum.
Finish and Paint the Repaired Area
Now comes one of the most important steps to conceal the repair – priming and painting. Cover floors and fixtures, then apply a high-quality primer designed specifically for bathrooms. Allow to dry fully, then paint using a roller in the same sheen and color as your existing wall. Apply multiple coats until the texture matches the surrounding area.
Once satisfied with the paint job, reattach any removed fixtures or accessories like towel bars, toilet paper holders, or mirrors.
Tools for Finishing and Painting the Repaired Area
The third and final step to fix water damage in your bathroom wall is to finish and paint the repaired area. To do this, you will need:
- Primer
- Paint
- A paint roller or a brush
- A paint tray or a bucket
- A drop cloth or a plastic sheet
- A screwdriver or a drill
- Screws or nails
Steps for Finishing and Painting the Repaired Area
- Prime and paint the repaired area: Use a drop cloth or a plastic sheet to cover the floor and any fixtures or furniture in the bathroom. Use a paint roller or a brush and primer to coat the patch and the surrounding wall, creating a smooth and uniform surface for the paint. Wait for the primer to dry, which may take a few hours. Then, use a paint roller or brush and paint to apply the color of your choice over the primer. Match the color and texture of the existing wall as closely as possible. Apply at least two coats of paint, allowing each coat to dry completely. Remove any drips or spills immediately with a damp cloth.
- Reattach any fixtures or accessories: If you removed any fixtures or accessories, such as towel bars, shelves, or mirrors, during the repair process, now is the time to put them back. Use a screwdriver or a drill and screws or nails to secure them to the wall. Make sure they are level and stable.
- Inspect the repair: Once the paint is dry, take a step back and inspect your work. Look for any imperfections, unevenness, or missed spots. Touch up any areas that need it. Also, check the repair for durability and stability. Press gently on the repaired area to ensure it is firmly attached to the wall and does not move or flex.
WHEN TO CALL A PROFESSIONAL
While many water damage scenarios can be addressed through DIY efforts, there are instances where calling a professional is the wisest course of action:
- Extensive Mold Growth: If you uncover widespread mold, it’s crucial to get professional remediation to ensure complete and safe removal.
- Structural Damage: Signs of structural compromise, like major wall deformations, require expert assessment and repair.
- Persistent Issues: If water damage recurs despite your efforts, it could indicate a deeper, unseen problem that professionals are better equipped to diagnose and treat.
Remember, prioritizing your safety and the integrity of your home is paramount. When in doubt, seek professional advice.
PREVENTING FUTURE WATER DAMAGE
Preventing water damage is key to maintaining a healthy and safe bathroom. Implement these tips to reduce the risk:
- Regular Maintenance Checks: Inspect plumbing, seals, and grout regularly for any signs of wear or leaks.
- Improve Ventilation: Use exhaust fans during and after showers, and consider a dehumidifier to control moisture levels.
- Promptly Address Leaks: Fix leaky faucets, showerheads, and pipes as soon as they are noticed.
- Seal and Caulk: Regularly inspect and replace caulking around tubs, showers, and sinks to prevent water seepage.
UNDERSTANDING THE COSTS INVOLVED
The cost of repairing water damage in bathroom walls can vary widely, depending on the extent of the damage and the approach (DIY vs. professional). Here’s a rough estimate:
- DIY Repairs: Minor repairs might cost between $100-$500, mainly covering materials and tools.
- Professional Repairs: More extensive damage requiring professional help can range from $500 to $5,000 or more, depending on the severity and required restoration work.
Conclusion
Left unchecked, water damage in a bathroom wall can spiral into mold growth, deteriorating drywall, and even structural issues. By promptly identifying and extracting the affected area, replacing damaged drywall, and finishing the repair, you can restore your bathroom wall and prevent health hazards and costly repairs down the road.
If you’ve discovered water damage in your bathroom, don’t wait. Start the repair process today, and consider reaching out to professionals if the task seems daunting.