Disclosure: I am compensated for purchases made through some links on this site. Click for details.
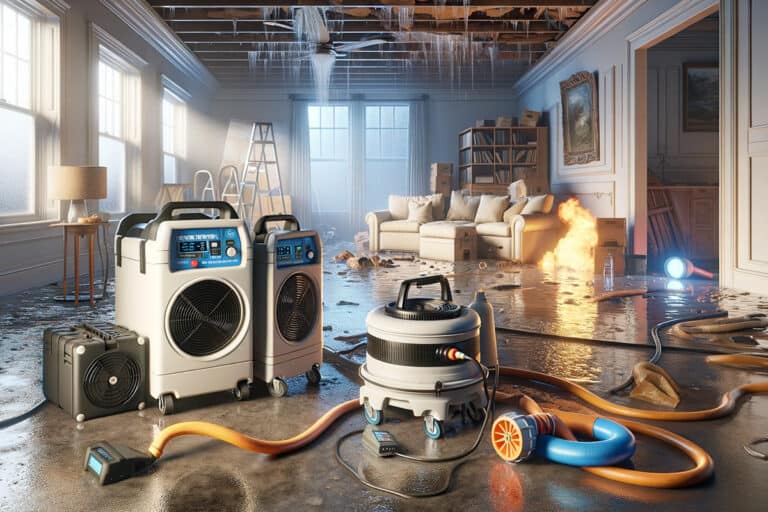
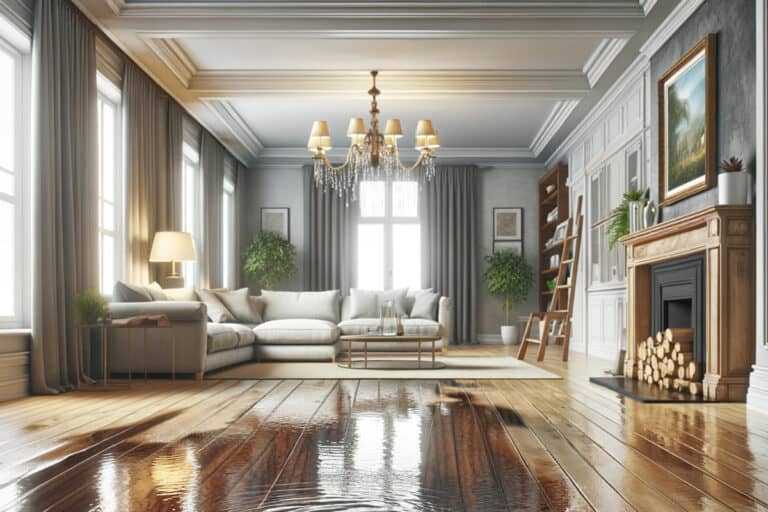
Wood floor water damage can strike any home, turning beautiful hardwood floors into a source of stress and costly repairs. Whether it’s caused by flooding, leaking pipes, high humidity, or accidental spills, water can seep into the wood and cause swelling, warping, discoloration, and mold growth – significantly compromising aesthetics and quality.
But don’t panic, there are ways to fix water-damaged wood floors and restore them to their original glory. In this blog post, we will show you how to:
- Identify the signs and causes of wood floor water damage
- Dry and clean your wood floors properly
- Repair or replace damaged boards and stains
- Prevent future water damage to your wood floors
Signs of Wood Floor Water Damage
The first step to repairing water-damaged wood floors is to identify the damage signs. Some common signs of wood floor water damage are:
- Warping: This is when the wood planks bend or twist out of shape due to swelling or shrinking from moisture absorption or loss. There are two types of warping: cupping and crowning. Cupping is when the edges of the planks curl up, creating a concave shape. Crowning is when the center of the planks bulge up, creating a convex shape.
- Discoloration: Discoloration occurs when the wood planks change color due to water stains, mold, or mildew. Water stains can range from white to black, depending on the type and amount of water. Mold and mildew can appear as green, brown, or black spots or patches on the wood surface.
- Lifting/Detachment: This is when the wood planks detach from the subfloor or the nails due to water pressure or expansion. Lifting can cause gaps, cracks, or squeaks in the wood floor.
- Soft/Spongy Spots: Trapped moisture in the wood can make the floor feel soft, spongy, or bouncy when stepped on. When wood has absorbed too much water it becomes weak and unstable.
- Odor: Wood floors can emit a musty or rotten smell due to mold, mildew, or bacteria growth.
Table 1: Signs of Water Damage
| Sign | Description | Immediate Actions |
|---|---|---|
| Warping (Cupping and Crowning) | Wood planks bend or twist due to moisture absorption or loss. | Identify the water source; start drying process. |
| Discoloration | Color changes in wood planks due to water, mold, or mildew. | Clean the area; assess for mold. |
| Lifting/Detachment | Wood planks detach from the subfloor or nails. | Secure loose planks; continue drying. |
| Soft/Spongy Spots | Wood feels soft or bouncy due to trapped moisture. | Increase drying efforts; check structural integrity. |
| Odor | Musty or rotten smell from mold, mildew, or bacteria. | Disinfect the area; ensure thorough drying. |
Table 2: Comparing Signs of Minor vs Severe Water Damage
| Severity | Signs |
|---|---|
| Minor | Slight cupping/crowning < 1⁄2 inch, minor discoloration, no mold or odor |
| Severe | Cupping/crowning > 1 inch, dark discoloration, detached boards, mold, odor |
Causes of Wood Floor Water Damage
The second step to repairing water-damaged wood floors is to identify the cause of the problem. Some common causes of wood floor water damage are:
- Flooding: This is when a large amount of water inundates the wood floor due to natural disasters, plumbing failures, clogged drains, or appliance malfunctions. Flooding can cause severe and immediate damage to the wood floor and the subfloor.
- Leaking Pipes: This is when a small amount of water leaks from the pipes under or near the wood floor due to fitting failures, corrosion, cracks, or loose connections. Leaking pipes can cause gradual and hidden damage to the wood floor and the subfloor.
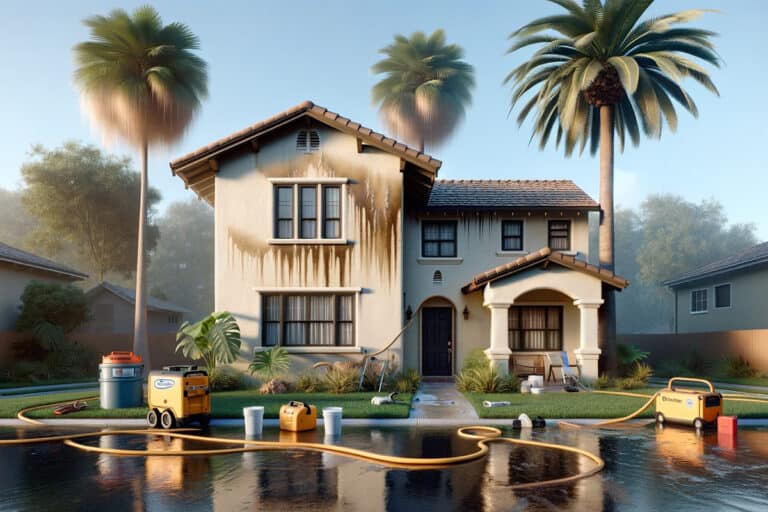
- Constant Moisture Exposure: This is when the wood floor is exposed to high humidity, or condensation on a regular basis due to poor ventilation or inadequate insulation. Constant moisture exposure can cause slow and progressive damage to the wood floor and the subfloor.
- Spills and Accidents: Large spills and pet accidents can cause hardwood floor damage if it is not cleaned up properly and promptly.
Table 3: Causes of Water Damage
| Cause | Description | Preventive Measures |
|---|---|---|
| Flooding | Large amounts of water inundating the floor from various sources. | Install flood barriers; regular plumbing checks. |
| Leaking Pipes | Water leaks from pipes under or near the wood floor. | Regular inspection of pipes; immediate repairs. |
| Constant Moisture Exposure | High humidity or condensation affecting the wood floor. | Use dehumidifiers; ensure good ventilation. |
| Spills and Accidents | Water damage due to not promptly cleaning up spills or pet accidents. | Use water-resistant mats; clean spills immediately. |
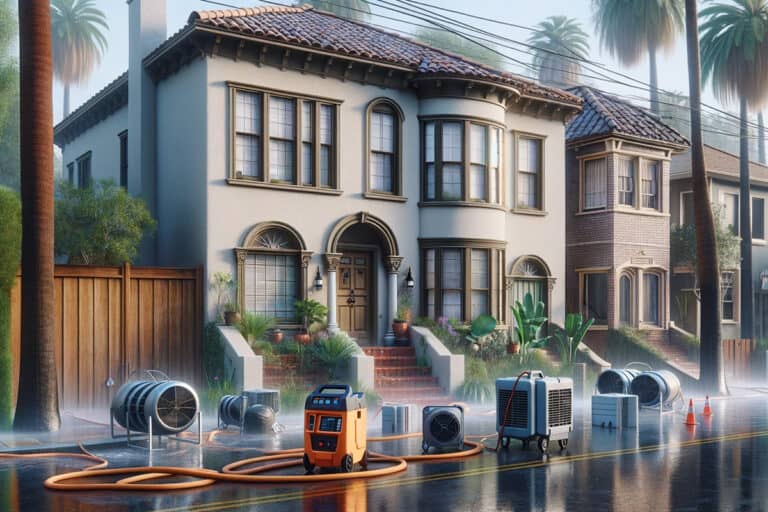
Drying and Cleaning Water-Damaged Wood Floors
The third step to repairing water-damaged wood floors is to dry and clean them properly. This can help prevent further damage, mold growth, and health hazards. Here are some tips on how to dry and clean your wood floors after water damage:
- Remove as much water as possible from the surface of the wood floor using towels, mops, or a wet vacuum. Be careful not to scratch or damage the wood while doing this.
- Use fans, air conditioners, windows, or dehumidifiers to circulate the air and reduce the humidity in the room. This can help speed up the drying process and prevent mold growth. Avoid using heaters or blowers, as they can cause the wood to crack or split.
- Check the moisture content of the wood and the subfloor using a moisture meter. The ideal moisture content for wood floors is between 6% and 12%, depending on the type and species of wood. If the moisture content is too high, continue the drying process until it reaches the normal range.
- Clean the wood floor using a mild detergent and a soft brush or cloth. This can help remove any dirt, debris, or organic matter that can promote mold growth. Rinse the floor with clean water and dry it with a towel or a fan.
- Disinfect the wood floor using a bleach or vinegar solution and a spray bottle. These or other gentle antimicrobial solutions can help kill any mold spores or bacteria that may have grown on the wood. Spray the solution on the affected areas and let it sit for 10 minutes. Then, wipe it off with a damp cloth and dry it with a fan.
Table 4: Drying and Cleaning Techniques
| Step | Description | Tools/Equipment Needed |
|---|---|---|
| Remove Surface Water | Use absorbent materials to remove standing water. | Towels, Mops, Wet Vacuum |
| Enhance Air Circulation | Use devices to dry out the area quickly. | Fans, Air Conditioners, Dehumidifiers |
| Check Moisture Content | Ensure wood and subfloor are adequately dried. | Moisture Meter |
| Clean and Disinfect | Remove dirt and kill mold spores. | Mild Detergent, Soft Brush/Cloth, Disinfectant |
Table 5: Wood Floor Drying Times
| Damage Level | Estimated Drying Time |
|---|---|
| Surface spills | 2-4 days |
| Minor flooding | 1-2 weeks |
| Major flooding | 3-4 weeks |
Repairing Water-Damaged Wood Floorboards
The third step to repairing water-damaged wood floors is to repair or replace the damaged boards and stains. This can help restore the appearance and functionality of your wood floors. Here are some tips on how to repair water-damaged wood floorboards:
Look for Signs of Permanent wood floor Damage
Inspect the wood floor for signs of permanent damage, such as warping, lifting, discoloration, or mold. If the damage is minor, you may be able to sand and refinish the floor. If the damage is severe, you may need to remove and replace the affected boards.
Sand and Refinish the Hardwood Floor
To sand and refinish the floor, you will need a drum sander, an edger, a buffer, a vacuum, and a finish applicator. You will also need to choose a finish that matches the original color and gloss of your wood floor. Follow the instructions of the manufacturer and the safety precautions when using these tools and materials.
Remove and Replace Damaged Boards
To remove and replace the damaged boards, you will need a circular saw, a hammer, a chisel, a pry bar, a drill, a nail gun, and some wood glue. You will also need to find new boards that match the size, type, and color of your wood floor. Follow these steps to remove and replace the damaged boards:
- Set the depth of the circular saw to the thickness of the wood floor and cut along the center of the damaged board. Be careful not to cut into the subfloor or the adjacent boards.
- Use the hammer and the chisel to split the board into smaller pieces and pry them out with the pry bar. Remove any nails or staples that are left behind.
- Cut the new board to fit the gap left by the old board. Make sure to leave a small gap around the edges for expansion and contraction.
- Apply some wood glue to the tongue and groove of the new board and the adjacent boards. Slide the new board into place and tap it gently with the hammer. Secure it with the nail gun and fill the nail holes with wood filler.
- Repeat the process for any other damaged boards.
Table 6: Repairing Water-Damaged Wood Floorboards
| Type of Damage | Repair Method | Estimated Cost | DIY Difficulty |
|---|---|---|---|
| Minor Warping | Sanding and Refinishing | Low-Moderate | Moderate |
| Severe Warping | Board Replacement | Moderate-High | High |
| Discoloration | Stain Removal & Refinishing | Moderate | Moderate |
| Mold Growth | Professional Cleaning & Treatment | High | Professional |
Costs to Repair Wood Floor Water Damage
The costs to repair water damaged wood floors can vary greatly depending on the severity of damage, materials, labor, and refinishing needs. Here is an overview of typical repair costs:
Cleaning and Drying Costs
If catching the water damage early, costs associated with cleaning, drying out the wood, controlling humidity levels, and prevention of further moisture intrusion typically range from $500 to $2,000 or more depending on the size of the affected area.
Spot Repairs and Refinishing Costs
Minor isolated spots of light cupping, staining, or finishing damage can often be addressed through sanding damaged layers and refinishing for a cost ranging from $200 up to $1,500.
Board Replacement Cost
If there are extensively warped and detached boards that require replacement, each damaged board could cost $50 to $150 to remove and install new replacement wood pieces that aesthetically match. Total project costs can range from $1,000 to over $5,000 depending on number of boards needing replacement.
Complete Floor Replacement Cost
In cases of severe, extensive water incursion resulting in irreversible warping and structural issues across large sections or the entire floor, a full replacement may be necessary at a cost ranging from $3,000 for a small space to over $25,000 for replacing all flooring.
There can be major cost variability depending on choice of materials from basic hardwoods to exotic specialty woods. Professional installation is also often recommended for best results. Be sure to get quotes from multiple reputable flooring contractors before proceeding.
Factors like early leak detection, prompt drying times and controlling humidity levels play a major role in minimizing overall repair costs over the long run.
Table 7: Costs to Repair Wood Floor Water Damage
| Repair Type | Cost Range | Details |
|---|---|---|
| Cleaning and Drying Costs | $500 – $2,000+ | Costs for cleaning, drying, humidity control, and moisture prevention; varies by area size. |
| Spot Repairs and Refinishing Costs | $200 – $1,500 | For minor cupping, staining, or finishing damage; includes sanding and refinishing. |
| Board Replacement Cost | $1,000 – $5,000+ | Cost per board is $50 – $150; total depends on the number of boards replaced. |
| Complete Floor Replacement Cost | $3,000 – $25,000+ | Necessary for severe, extensive damage; costs vary based on the size of the space and materials used. |
How to choose a professional hardwood flooring contractor
If you need help with repairing, refinishing, or replacing your water-damaged hardwood floors, you should look for a qualified and experienced hardwood flooring contractor. Here are some tips on how to choose the right one for your project:
- Recommendation: Ask for recommendations from friends, family, or neighbors who have had similar work done on their hardwood floors. You can also check online reviews and ratings of local contractors on sites like HomeAdvisor or Angie’s List.
- Compare: Compare at least three quotes from different contractors and ask for a detailed breakdown of the costs, materials, and timeline. Make sure the quotes include the scope of work, the warranty, and the insurance coverage.
- Credentials and Reputation: Check the credentials and reputation of the contractors you are considering. Look for licenses, certifications, accreditations, and memberships in professional associations. You can also verify their business records and complaints history with the Better Business Bureau or your state’s consumer protection agency.
- References: Ask for references and samples of previous work from the contractors. Contact the references and ask about their satisfaction, quality, and timeliness of the work. You can also visit the contractors’ websites or social media pages to see photos and videos of their past projects.
- Experience and Expertise: Choose a contractor who has experience and expertise in dealing with water-damaged hardwood floors. Ask them about their methods, equipment, and products for drying, repairing, and refinishing your hardwood floors. You can also ask them for advice on how to prevent future water damage and maintain your hardwood floors.
Table 8: Choosing a Professional Hardwood Flooring Contractor
| Criteria | What to Look For | Tips |
|---|---|---|
| Recommendation | Positive feedback from trusted sources. | Ask friends, family, or check online reviews on HomeAdvisor, Angie’s List. |
| Quotes Comparison | Detailed cost, materials, and timelines. | Obtain at least three quotes; ensure they include work scope, warranty, and insurance coverage. |
| Credentials and Reputation | Licenses, certifications, accreditations. | Verify through BBB, consumer protection agencies; check professional associations membership. |
| References | Feedback on past projects. | Contact provided references; check contractors’ websites and social media for past work samples. |
| Experience and Expertise | Specialization in water damage repair. | Ask about methods, equipment, products used for repair and prevention strategies for hardwood floors. |
Preventing Future Water Damage to Your Wood Floors
The fourth step to repairing water-damaged wood floors is to prevent future water damage. This can help you avoid the hassle and cost of repairing your wood floors again. Here are some tips on how to prevent future water damage to your wood floors:
- Seal your wood floors with a water-resistant coating or a polyurethane finish. This can help protect your wood floors from spills, stains, and moisture. Reapply the coating or finish every few years or as needed.
- Check your plumbing, roofing, and appliances regularly for leaks or malfunctions. Fix any issues as soon as possible to prevent water from reaching your wood floors. You can also install water sensors or alarms to alert you of any water leaks or floods.
- Use mats, rugs, or trays to protect your wood floors from water sources, such as sinks, tubs, showers, or plants. Clean up any spills or splashes immediately with a dry cloth or a wet vacuum. Avoid using wet mops or steam cleaners to clean your wood floors, as they can leave excess moisture on the wood.
- Control the humidity and temperature in your home with a dehumidifier, an air conditioner, or a humidifier. The ideal humidity level for wood floors is between 35% and 55%. The ideal temperature range for wood floors is between 60°F and 80°F. Avoid drastic changes in humidity and temperature, as they can cause the wood to expand and contract.
Table 9: Preventative Measures for Water Damage
| Preventative Measure | Description | Frequency/Recommended Timing |
|---|---|---|
| Seal Floors | Apply water-resistant coatings or polyurethane finish. | Every few years/as needed |
| Regular Plumbing Checks | Inspect for leaks or malfunctions in plumbing. | Annually or as needed |
| Use Protective Mats | Place mats in water-prone areas. | Continuously/as needed |
| Control Indoor Humidity | Maintain optimal humidity levels. | Continuously monitor |
FAQs About Wood Floor Water Damage
Here are some frequently asked questions and answers about water damage to wood floors:
Conclusion
Learning to promptly identify and remedy water damage protects your beautiful wood flooring investment. Implement these practical tips – act quickly when leaks occur, thoroughly dry affected areas, repair warped and stained sections, and take preventative measures. With this comprehensive guidance, you can tackle this common hardwood flooring headache. As always, don’t hesitate to consult flooring restoration professionals as needed.